Blanching is a simple yet essential cooking technique that enhances the color, flavor, and texture of vegetables. Whether you’re preparing for meal prep or simply looking to elevate your culinary skills, mastering blanching can make all the difference. This guide empowers home cooks of all levels with easy-to-follow tips and tricks, ensuring that you’ll not only enjoy fresh-flavored dishes but also preserve the vibrant colors and nutritional value of your ingredients.
The Basics of Blanching: What You Need to Know
Blanching is a fundamental cooking technique that is essential for preserving the freshness and texture of various ingredients. By immersing foods briefly in boiling water and then rapidly cooling them in ice water, blanching not only retains vibrant colors and crisp textures but also prepares ingredients for further cooking or freezing.
Benefits of Blanching
The primary benefit of blanching is its ability to preserve the color and texture of food. Vegetables like broccoli, beans, and spinach maintain their bright green hues and crunchy textures post-blanching, making your dishes visually appealing and satisfying. Blanching also extends the shelf life of vegetables, preparing them for freezing while maintaining quality. Additionally, it helps in removing strong flavors and odors from ingredients such as onions, avoiding any overpowering taste in the final dish.
Blanching is particularly beneficial when preparing ingredients for low-waste cooking prep, allowing you to extend their usability, thus reducing kitchen waste.
Essential Tools for Blanching
To blanch effectively, you will need a few basic tools. A large pot is essential for boiling water, with enough room for the food to move freely. A slotted spoon or a pair of tongs is ideal for transferring food into the ice bath. An ice water bath, typically prepared in a large bowl, is necessary to halt the cooking process instantly. Ensure the ice water completely covers the blanched items for optimal results.
The Blanching Process: Step-by-Step
-
Boil Water: Start by bringing a pot of water to a rapid boil. Add a pinch of salt to enhance the flavor and help maintain the food’s color.
-
Prepare an Ice Bath: While the water is heating, fill a large bowl with water and plenty of ice cubes to create an effective ice bath.
-
Blanch the Food: Once the water is boiling, add the food to the pot. Blanching times vary, generally ranging from 2-5 minutes depending on the thickness and type of vegetable.
-
Ice Bath Transition: Use the slotted spoon or tongs to transfer the food immediately from the boiling water to the ice bath. Submerge the food completely for about the same amount of time it was in the hot water.
-
Drain and Dry: After the food has sufficiently cooled, drain it well and use paper towels or a clean kitchen towel to dry it before further processing or storage.
Applications of Blanching
Blanching is a versatile technique applicable to a wide range of ingredients beyond just vegetables. It is used to loosen skins from fruits like tomatoes and peaches, making them easier to peel. Additionally, blanching nuts, such as almonds, aids in skin removal, making them ready for baking or cooking.
Mastering the basics of blanching is an investment in preserving the taste and texture of your ingredients. This seemingly simple technique not only amplifies the flavors of your dishes but also supports a more sustainable kitchen practice by maximizing the longevity of your fresh ingredients.
Blanching Techniques and Tips for Success
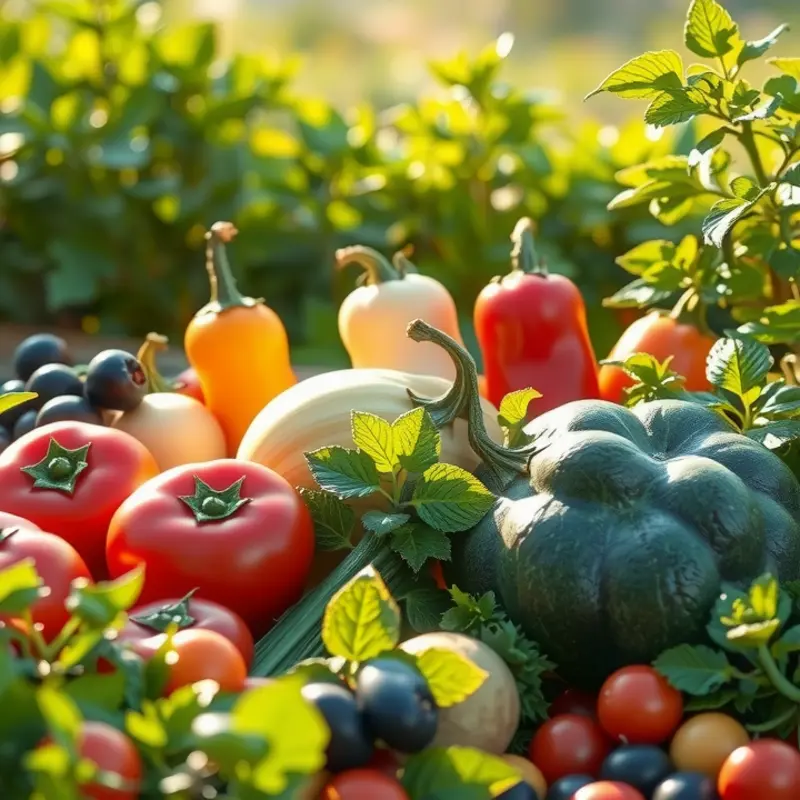
Blanching, when done correctly, elevates your cooking by preserving vibrant colors, enhancing flavors, and maintaining nutrients. The process isn’t complicated, but attention to detail is crucial. Begin by selecting fresh, high-quality vegetables that are firm and unblemished. It’s important to wash them thoroughly to remove any dirt or pesticides before starting.
Timing is Everything
One of the key factors that can make or break the blanching process is timing. For most vegetables, a brief immersion in boiling water suffices. Typically, leafy greens need around 1-2 minutes, while denser vegetables like carrots might require 3-5 minutes. It’s essential to monitor the process closely—too little time in the water and the vegetables remain raw; too much time and they turn mushy.
Cooling Quickly and Completely
Once the timing is appropriately established, the next step is rapid cooling to stop the cooking process instantly. Immerse the vegetables in a bowl of ice water immediately after removing them from the pot. This step, known as ‘shocking,’ prevents overcooking and locks in their bright color and crisp texture. Ensure there’s plenty of ice cubes in the water to maintain a low temperature.
Proper Equipment and Preparation
Using the right tools can significantly impact the outcome of your blanching efforts. Have a large pot of water on the stove; a ratio of one gallon of water to one pound of vegetables is ideal. This volume allows continuous boiling even when the vegetables are added. A wire basket or slotted spoon can help retrieve the vegetables quickly and efficiently.
Common Mistakes to Avoid
A frequent error in blanching is overcrowding the pot. Doing so drops the water temperature, resulting in uneven cooking. Also, avoid salting the blanching water; this can lead to unwanted flavors in your vegetables. Instead, season them afterward to taste. Finally, be mindful of the types of vegetables you mix; differing densities require varying blanching times.
Advanced Tips for Pro Results
Take blanching a step further by using the produce immediately in dishes like chilled salads or stir-fries. If your aim is long-term storage, drain the cooled vegetables well and place them in airtight bags for freezing. This method helps maintain their peak freshness for months.
By mastering these techniques, you’ll reinforce other cooking methods and improve the quality of your homemade meals. Blanching is also a key step in creating low-waste dishes, which you can learn more about in our low-waste cooking prep guide. Embrace blanching as a fundamental skill and watch your culinary creations flourish with color, texture, and taste.
Final words
Blanching is an indispensable technique that every home cook should master to ensure the maximum flavor and aesthetic appeal of their dishes. By understanding the basics of blanching and implementing helpful techniques, you can take your cooking to new heights while preserving the nutritional integrity of your ingredients. The next time you prepare vegetables or fruits, remember that a touch of blanching can transform ordinary meals into extraordinary culinary experiences. With practice, this straightforward method will become second nature, and you’ll find joy in the vibrant colors and fresh flavors you can bring to your table.

