
Blanching vegetables not only enhances their vibrant colors but also preserves key nutrients and improves texture. This time-honored technique is essential for home cooks looking to elevate their meals, whether you’re prepping veggies for a stir-fry, freezing for later, or simply want to enjoy them at their best. Let’s explore the process and tips to make this skill a seamless addition to your cooking repertoire.
The Basics of Blanching: What You Need to Know
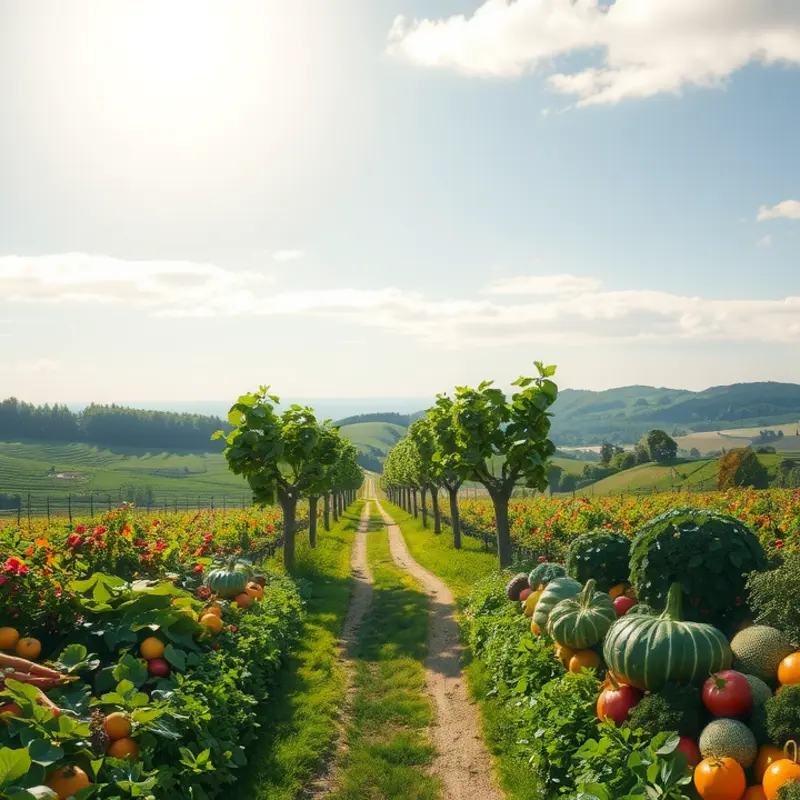
Blanching vegetables is an essential technique in the culinary world, offering multiple benefits that enhance both the taste and texture of your dishes. This process involves boiling vegetables briefly before quickly plunging them into ice water to halt cooking. Whether you’re preparing a fresh salad, a vibrant stir-fry, or even planning to freeze vegetables, blanching is a skill worth mastering.
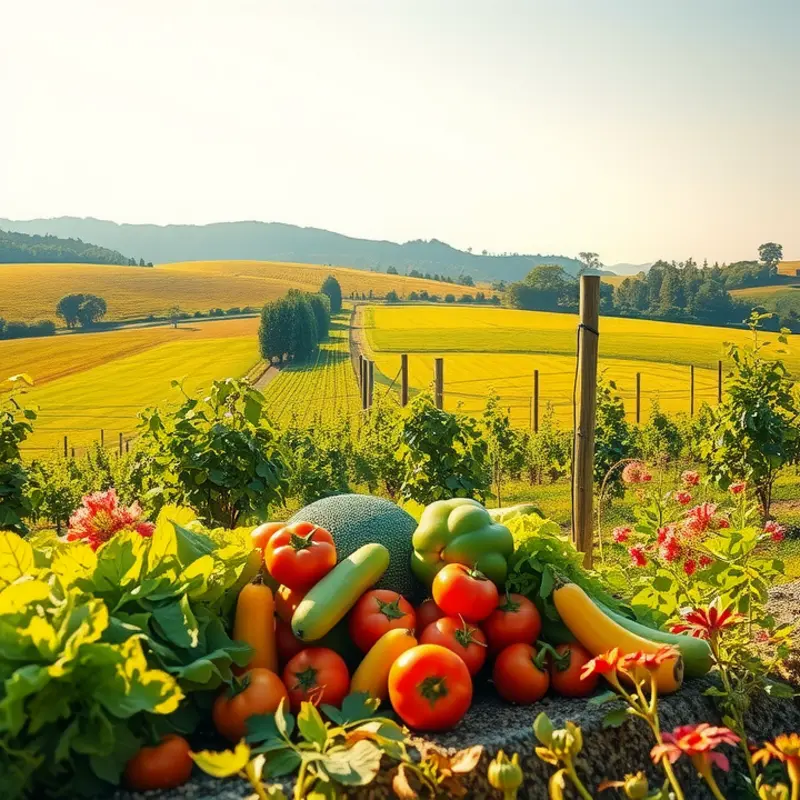
The blanching process begins with selecting fresh vegetables. Start by washing them thoroughly to remove dirt and pesticides. Trim and chop them to your desired size, ensuring uniform pieces for even blanching. This step is crucial, as uneven cuts can lead to inconsistent cooking times, affecting the overall quality.
Next, prepare a large pot of water and bring it to a rolling boil. It’s important to add salt—about one tablespoon per gallon of water. Salt helps to intensify the vegetables’ natural color and aids in breaking down their fiber, making them tender without compromising their crispness.
Once the water is boiling, introduce your vegetables in small batches. Overcrowding the pot can cause the temperature to drop, leading to uneven blanching. Most vegetables only need to boil for 2-5 minutes. Timing is critical; you want to ensure the vegetables are cooked enough to be tender but not so much that they lose their vibrant color and crunch.
After boiling, remove the vegetables promptly using a slotted spoon. Immediately plunge them into a bowl of ice water. This rapid cooling, also known as “shocking,” locks in color and texture while stopping the cooking process. Let the vegetables soak in the ice bath for the same amount of time they were boiled.
The benefits of blanching extend beyond aesthetic improvements. This method enhances flavor by removing bitterness found in some vegetables, such as kale and broccoli rabe. Additionally, it preserves vitamins and nutrients that might otherwise be lost during longer cooking methods.
For those interested in meal prep or minimizing food waste, blanching is particularly useful. Once blanched and drained, vegetables can be stored in airtight containers or freezer bags for extended shelf life. By integrating blanching into your routine, you can enjoy the convenience of pre-cooked vegetables that are ready to go when time is of the essence. Pair this practice with eco-smart kitchen storage techniques to further enhance your kitchen efficiency.
In summary, understanding the basics of blanching can transform the way you engage with vegetables in your culinary adventures. This technique not only enhances flavor and nutritional value but also offers practical solutions for efficient meal preparation.
Step-by-Step: How to Blanch like a Pro
Blanching vegetables is a cooking technique that balances texture, color, and flavor. Here is a step-by-step guide to help you master this subtle art, ensuring your veggies are vibrant and perfectly cooked every time.
Step 1: Gather Your Tools
Before starting, make sure you have all necessary tools: a pot for boiling water, a bowl for ice water, a slotted spoon or tongs, and a strainer. Using the right tools can significantly affect the outcome, ensuring that your vegetables remain crisp and colorful.
Step 2: Prepare the Vegetables
Cut your vegetables uniformly for even cooking. Consistency in size ensures that all pieces cook at the same rate, preventing overcooking some while undercooking others.
Step 3: Boil the Water
Fill the pot with enough water to fully submerge your vegetables. Add a generous amount of salt, which not only seasons the veggies but also helps maintain their vibrant color. Bring the water to a rapid boil.
Step 4: Blanch the Vegetables
Once your water’s at a rolling boil, carefully add your prepared vegetables. Use a slotted spoon to lower them in gently, preventing splashes and burns. Timing each vegetable is crucial. For instance, green beans usually take about 3 minutes, while carrots might take 5 minutes.
Step 5: Prepare the Ice Bath
While your vegetables are blanching, fill a large bowl with ice and cold water. The ice bath stops the cooking process immediately, preserving the vegetables’ color and texture.
Step 6: Transfer to Ice Bath
Once the vegetables have blanched for the appropriate time, quickly transfer them to the ice bath. Leave them in the ice water for the same duration as they were in the boiling water. This crucial step prevents them from becoming mushy.
Step 7: Drain and Dry
After cooling, drain the vegetables in a strainer. Pat them dry with a clean kitchen towel to remove excess moisture. Properly drying the vegetables is vital if you plan to cook them further or store them.
Step 8: Store or Use Immediately
Blanched vegetables can be used immediately in your recipes or stored for later use. For storage, ensure they are dry before placing them in airtight containers. They can be refrigerated or frozen, as blanching extends their shelf life while maintaining nutrients.
For more tips on efficient kitchen practices, you might want to explore eco-smart kitchen storage solutions.
With these steps, you’ll be able to blanch a variety of vegetables like a culinary pro, enhancing the flavor and appearance of your dishes. This technique not only contributes to a beautiful plate but also ensures the nutritional value of your vegetables is preserved, adding unmatched vibrancy and freshness to your meals.
Final words
Blanching vegetables is a skill that every home cook should master to enhance flavor, preserve nutrients, and improve texture. With just a few simple steps, you can keep your veggies bright and delicious, making them an excellent addition to any meal. Remember to practice this technique with different vegetables, and soon you’ll find it becomes a natural part of your cooking routine. Enjoy the confidence and creativity that comes from improving your kitchen skills with this vital technique.


