
Clarifying butter opens up a world of rich flavors and cooking possibilities. This versatile ingredient, beloved in many cuisines, enhances everything from sauces to baked goods. Learning to clarify butter at home empowers cooks of all levels to enjoy its nutty taste and high smoke point. With straightforward steps and tips, you’ll soon master this essential culinary skill.
Understanding the Basics of Clarifying Butter

Clarifying butter is a rewarding skill that enhances the taste and texture of your culinary creations. By separating the milk solids and water from the butterfat, you’re left with a pure, golden liquid that’s prized in the culinary world. Not only does this process increase the smoke point of the butter, making it suitable for high-heat cooking, but it also extends its shelf life. Chefs appreciate clarified butter for its ability to impart a rich, nutty flavor without the risk of burning.
Using the right type of butter is crucial for successful clarification. Opt for unsalted butter as it gives you control over the seasoning and prevents the taste from being overwhelmed by salt. When shopping, look for butter with the highest fat content possible. Higher fat content means you’ll have a greater yield of clarified butter. European-style butters are typically richer and yield a more decadent clarified butter, though any high-quality dairy butter will work.
When purchasing butter, consider the source of the dairy. Grass-fed options can offer a more vibrant yellow hue due to the higher beta-carotene content. Pay attention to the packaging date; fresher butter will give you a cleaner taste. Organic options are worth exploring, especially to avoid any potential chemical residues from conventional dairy farming.
Understanding why clarified butter is commonly used can inspire its incorporation into your cooking. Its high smoke point, around 485°F (compared to regular butter’s 350°F), makes it ideal for sautéing and frying. Its resistance to burning allows for more consistent cooking results, especially important in dishes requiring precise heat control. Moreover, clarified butter is virtually lactose-free as the clarification process removes most milk solids, making it suitable for those with lactose sensitivity.
For those aiming to reduce sodium intake, clarified butter naturally adheres to such dietary goals without compromising flavor. It can serve as a flavorful replacement for oils in various recipes, further enhancing the taste of your dishes. For more ideas on enhancing flavor without added salt, consider exploring other options like [flavor boosters] without salt.
Incorporating clarified butter into your daily cooking routine can be a game-changer. It’s more than just a cooking medium; it’s a versatile ingredient that enhances the taste of everything it touches, from simple vegetables to elaborate sauces. Whether you’re a seasoned chef or a home cook aspiring to elevate your culinary skills, mastering the art of clarifying butter is a valuable step towards achieving professional results in your kitchen.
Step-by-Step Guide to Clarifying Butter
To achieve perfectly clarified butter, let’s start with the key ingredient: unsalted butter. You need this to control the sodium content and ensure a smooth end product. One to two sticks should suffice for most home cooking needs. Use high-quality butter, as it impacts the flavor significantly.
Step 1: Melting the Butter
Start by placing your butter in a saucepan over low heat. Avoid high heat, which can cause the butter to burn or brown prematurely. As the butter melts, you’ll notice three distinct layers forming: milk solids, golden liquid, and a foamy top. This is a good indicator you’re on the right track.
Step 2: Skimming the Foam
Once all the butter has melted, you will see a layer of foam floating on top. Use a spoon to gently skim off the foam. This removed foam consists of water and air trapped during the churning process. Being gentle is vital to avoid mixing the layers below.
Step 3: Simmering and Separation
Allow the butter to continue to simmer for a few more minutes. At this stage, you want to ensure that all water content has evaporated, which brings clarity to the liquid butter. As the simmering progresses, the milk solids should start to settle at the bottom of the pan.
Step 4: Straining the Butter
Once you see that the milk solids have settled, prepare your straining setup. Use a fine-mesh strainer lined with a cheesecloth and position it over a clean heatproof container. Carefully pour the golden liquid through the strainer. This process leaves the milk solids behind, ensuring only clarified butter passes through.
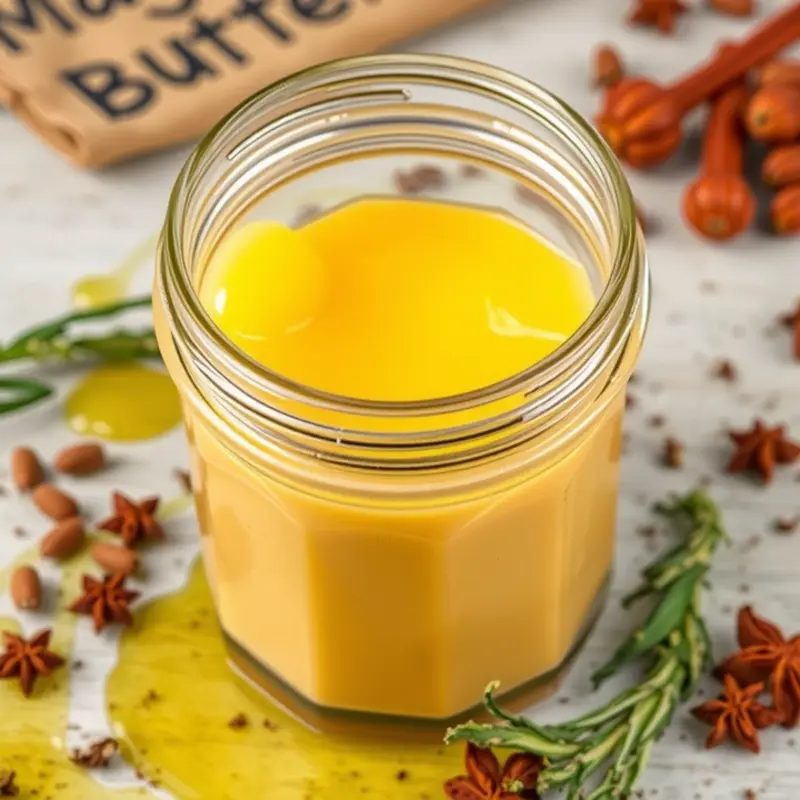
Step 5: Cooling and Storage
Let the clarified butter cool to room temperature. Once cooled, pour it into a clean jar or airtight container for storage. Clarified butter can be kept at room temperature for up to a week, or refrigerated for extended shelf life.
This versatile ingredient not only elevates the flavor profile of your dishes but also withstands higher cooking temperatures, making it ideal for sautéing, frying, and baking. You might find this process similar to other culinary techniques, so check out our guide on flavor boosters without salt for creative ways to enhance your dishes.
Final words
Clarifying butter is a skill that will enhance your cooking repertoire and impress anyone at the dinner table. With just a few simple techniques, you can transform regular butter into a gourmet ingredient packed with flavor. Not only does clarified butter boast a higher smoke point, making it perfect for frying and sautéing, but it’s also free from milk solids, making it suitable for those with lactose sensitivities. Armed with the knowledge and steps from this guide, you’re now ready to incorporate clarified butter into various dishes, adding a touch of culinary excellence to your cooking!


