
Creating bread with the perfect texture is an essential skill for home cooks at any level. Understanding the science of bread-making, from choosing the right ingredients to proper kneading techniques, can dramatically improve your loaves. Each batch offers a unique opportunity to enhance your culinary prowess and delight your family with delicious homemade bread. Explore practical tips that will take your bread-making journey to the next level, ensuring a delightful texture that complements every meal.
Choosing the Right Flour for the Best Texture
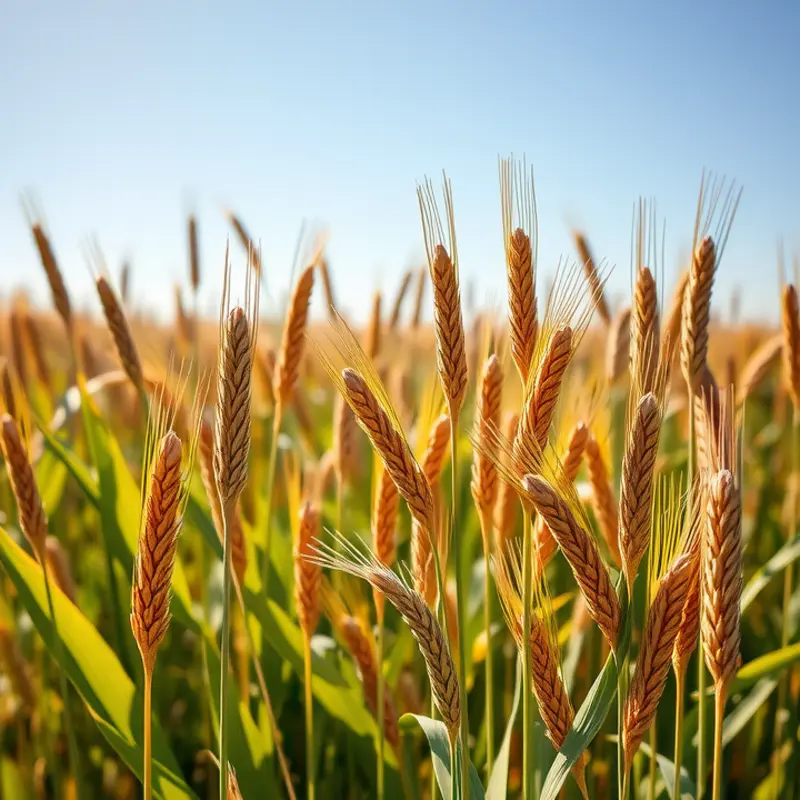
Flour selection is a pivotal consideration for any home baker aiming to master bread textures. The protein content of flour directly influences gluten development, impacting the final texture of bread. Understanding the nuances of different flour types can elevate your baking skills significantly.
All-Purpose Flour is a common choice due to its versatility. It contains a moderate protein level of around 10-12%. This range allows it to produce decent gluten, making it suitable for a variety of bread types. However, if you aim for a chewier texture, like in artisanal breads, you may need a higher protein content.
Bread Flour contains a higher protein content, typically between 12-14%. This promotes robust gluten formation, resulting in a chewier, more elastic texture. It’s ideal for breads that require a strong structure, such as baguettes and pizza doughs. The increased gluten framework traps more air, giving the bread a lofty rise and a satisfying bite.
Whole Wheat Flour offers a denser texture due to the inclusion of bran and germ. Its protein content usually ranges from 13-14%, but its ability to form gluten isn’t as effective as bread flour due to these additional components. However, whole wheat flour adds flavor and nutritional value, contributing a rustic charm to your bread.
Blending flours can also bring intriguing results. Mixing all-purpose with bread flour can strike a balance between chewiness and versatility. Experimenting with ratios like 70:30 all-purpose to bread flour can yield softer bread with enough structure. Conversely, combining whole wheat with bread flour can enhance nutritional benefits while retaining a lighter texture than whole wheat alone.
For bakers seeking a lighter crumb without changing the type of flour, adding vital wheat gluten is an excellent option. A tablespoon or two can bolster gluten development, particularly useful when working with flours low in protein. This method is beneficial for achieving a lofty loaf without adjusting your main flour.
Moreover, understanding storage can maintain flour quality, which impacts your bread. Consider exploring eco-friendly kitchen storage to ensure freshness and sustainability in your baking routine.
Choosing the right flour ultimately depends on the desired outcome and personal preferences. Whether opting for a single flour type or experimenting with blends, gaining an understanding of each flour’s characteristics empowers you to bake breads with varied and delightful textures.
Kneading Techniques: Perfecting the Dough Manipulation
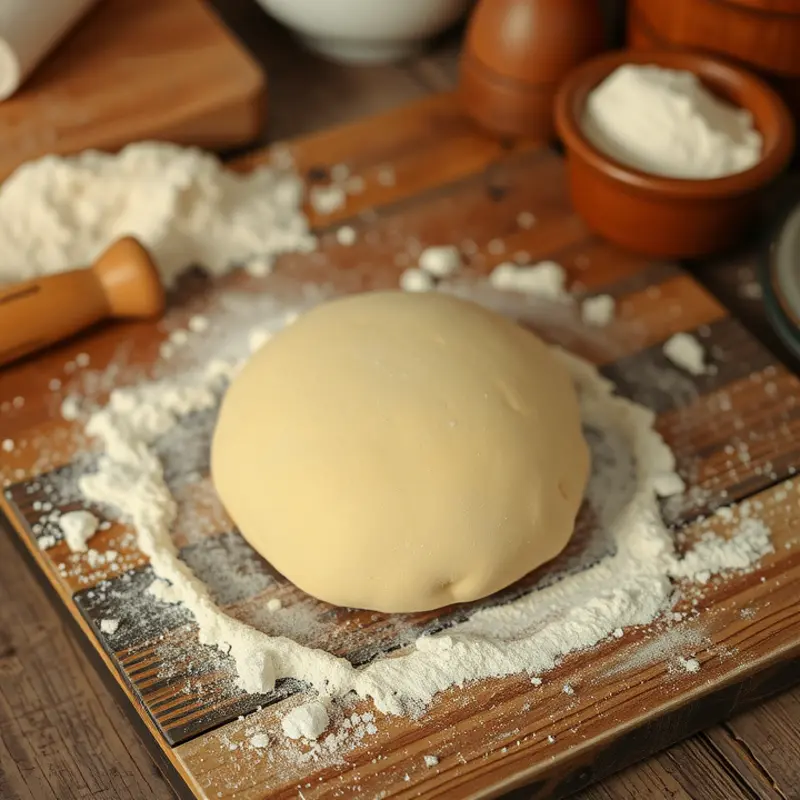
The cornerstone of excellent bread-making lies in mastering the art of kneading. This ancient technique serves as the bridge between raw flour and the delightful textures that make your bread memorable. As gluten forms the structural basis of your dough, proper kneading is essential to developing both its strength and elasticity.
To begin, the classic kneading technique is ideal for most traditional bread recipes. Start by pressing the dough with the heel of your hand, folding it over, and giving it a turn, repeating these motions rhythmically. This method requires repetition for about 8–10 minutes on average doughs, and up to 15 minutes for more robust breads like baguettes.
An alternative approach is the stretch and fold technique. This method involves stretching the dough upwards, then folding it over itself, typically at 30-minute intervals during the fermentation process. This method is particularly effective for high-hydration doughs, such as ciabatta, where maintaining air bubbles is crucial.
Stand mixers offer modern convenience for those seeking efficiency. Use the dough hook at a low to medium speed. This method requires less time—usually about 7 minutes—but it’s vital to monitor the dough’s texture. The dough should clear the sides of the bowl but stick slightly to the bottom.
Recognizing the right consistency is key. Properly kneaded dough is smooth, supple, and slightly tacky. It should form a windowpane—a thin, translucent sheet when stretched gently, without tearing—which indicates sufficient gluten development. Keeping a watchful eye on these characteristics can prevent common pitfalls, such as over-kneading, which can lead to a dry and dense loaf.
Over-kneading, especially when using a stand mixer, is a common misstep. Dough that’s overworked may become tough and tear easily. If you spot these signs, it’s best to rest the dough and allow for some recovery time before attempting further manipulation.
The right kneading technique varies depending on the type of bread you’re crafting. Whole wheat breads typically require a slightly longer knead, as the bran can interfere with gluten structure. On the flip side, delicate pastries like brioche benefit from gentler handling to maintain their rich crumb texture.
For those interested in further refining their dough skills, understanding ingredient interactions and storage can also be beneficial. Check out eco-smart kitchen practices for insights into ingredient freshness and sustainability.
Mastery of these kneading techniques empowers you as a home baker to create bread with textures that rival those of artisan loaves. By maintaining consistency and vigilance in your kneading approach, you’ll be well-equipped to tackle a variety of bread recipes with confidence and flair, making your baking endeavors both successful and satisfying.
Final words
Achieving the perfect bread texture combines the right choices with effective techniques. By selecting the appropriate flour and mastering kneading methods, even novice bakers can create loaves that rival those from gourmet bakeries. Remember, practice is key; don’t hesitate to experiment with different types of flour mixes and kneading styles. Every baking session offers a new chance to refine your skills, so keep pushing your boundaries. Ultimately, the joy of baking isn’t just in the finished product, but in the learning journey and delicious experiences you share along the way. Embrace each loaf as a step towards becoming the baker you aspire to be.


