
Blanching vegetables is a fundamental technique that elevates your cooking. This method not only preserves color and nutrients but also provides a vibrant base for salads, stir-fries, and more. Whether you’re a novice or an experienced cook, mastering this skill can enhance your dishes significantly. The following chapters will unravel step-by-step how to perfect your blanching techniques, ensuring you get the most out of your fresh produce.
Getting Started: The Essentials of Blanching
Blanching is a cooking technique that can elevate the way you prepare vegetables in your home kitchen. At its core, blanching involves briefly boiling vegetables and then rapidly cooling them in ice water. This seemingly simple method offers numerous benefits, including preserving vibrant colors, improving flavor, and maintaining crisp texture, not to mention the nutritional benefits.
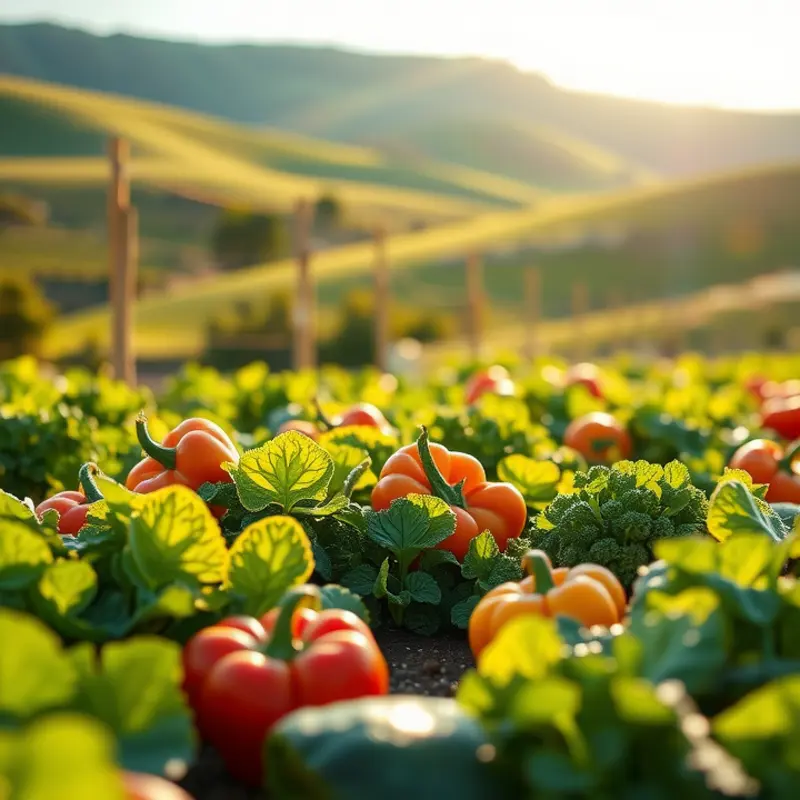
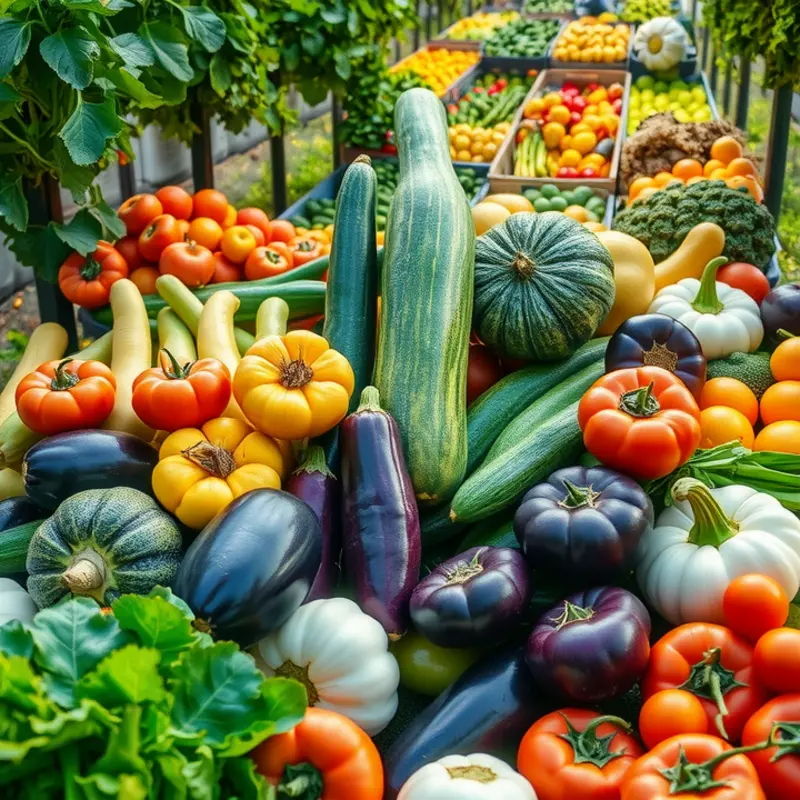
To prepare for blanching, start by selecting fresh and high-quality vegetables. Look for produce that is firm, with clear, bright colors and no signs of wilting or blemishes. The most common vegetables suitable for blanching include broccoli, green beans, asparagus, and carrots. Leafy greens like spinach or kale also benefit greatly from this technique. If you’re curious about less traditional options, try blanching zucchini or bell peppers.
Understanding the blanching process is essential. First, prepare a large pot of salted boiling water for the vegetables. The salt helps not only to flavor the vegetables but also to set their color. As a general rule of thumb, use a large pot so that the water temperature doesn’t drop too much when you add the veggies. Next, prepare a bowl of iced water that will halt the cooking process immediately, locking in freshness and nutrients.
You’ll need a few essential tools to optimize your blanching experience. A slotted spoon or spider strainer works well to transfer vegetables from boiling water to the ice bath. A timer is crucial if you don’t want to overcook your vegetables, as most require just a minute or two in the boiling water. Having a colander on hand can also be helpful for draining the vegetables once they have cooled.
Why should you blanch vegetables? Not only does it help in enhancing their color and taste, but it also makes peeling tasks easier for items like tomatoes and almonds. Furthermore, blanching is an efficient method for preserving vegetables for later use in the freezer. For easy retrieval, label your vegetables with the date they were prepared and frozen.
Incorporating the blanching technique into your cooking repertoire supports a healthy diet by making vegetables more appealing and palatable. Moreover, blanching denatures enzymes in the vegetables that could lead to spoilage, thus extending their shelf life. For additional methods on preserving food and reducing waste, explore this article about eco-smart kitchen storage.
Once you have mastered the basics of blanching, you will find it a valuable tool in your culinary arsenal. Whether you’re preparing meals ahead or hosting an elaborate dinner, blanching provides a reliable approach to achieving better taste, texture, and nutritional value in your vegetables. Prepare to impress and satisfy with your newfound skills in blanching!
Step-by-Step Guide to Blanching Vegetables
Blanching is a game-changer in the kitchen, and mastering it begins with knowing the right steps for each type of vegetable. Let’s walk through the process to ensure you achieve bright, flavorful, and nutritious results every time.
1. Select Your Vegetable
Start with fresh and firm vegetables. Blanching works wonders on an array of options like broccoli, green beans, spinach, and carrots. Each vegetable has its own special boiling time, which is crucial for optimal taste and texture.
2. Prepare Your Setup
You’ll need a large pot, a generous amount of water, and a bowl with ice water nearby. The pot should be large enough to allow the water to boil continuously, even with the vegetables added. Use about one gallon of water for every pound of vegetables.
3. Bring Water to a Rolling Boil
Salt the water generously. This step isn’t just for seasoning; it helps set the color of the vegetables. A rolling boil is essential for even blanching.
4. Add the Vegetables
Carefully add your vegetables to the boiling water. Make sure they are submerged completely. Be precise with the boiling time—for instance, green beans need about 3 minutes, while broccoli should be blanched for 2 to 3 minutes.
5. Prepare an Ice Bath
Fill a large bowl with water and ice. This is critical to stop the cooking process and lock in the vibrant color and nutrients. Keep it close to the stove for immediate transfer of vegetables.
6. Transfer to Ice Bath
Once your timer goes off, quickly transfer the vegetables to the ice bath. Let them sit until completely cool, about the same length of time they were boiling. This step helps to maintain crispness.
7. Drain and Store
After the vegetables have cooled, drain them thoroughly. If you’re planning to use them right away, they’re good to go. Otherwise, pat them dry before storing.
Storing blanched vegetables is easy and prolongs their freshness. Place them in airtight containers or sealable bags, removing as much air as possible. For longer shelf-life, freeze them after they are completely dry to avoid ice crystals forming, which can alter texture.
To ensure eco-friendly kitchen habits, consider tips from the guide on low-waste cooking prep, ensuring you maximize shelf-life while minimizing food waste.
Armed with these detailed steps, you can blanch like a pro, enhancing both the beauty and health benefits of your vegetables. Enjoy the fresh, clean flavors that blanching summons in every dish.
Final words
Blanching vegetables is not only a culinary skill but an art form that enhances the freshness and flavor of your dishes. By following the techniques outlined in this guide, from gathering the right ingredients to mastering the perfect blanching process, you’ll see a marked improvement in your home cooking. Remember, practice makes perfect. The next time you’re whipping up a meal, don’t forget to embrace this simple yet transformative technique to elevate your vegetable game.


