Rendering fat is a crucial skill in the kitchen that can elevate your dishes to new heights. By extracting flavor-packed oils from meats or using plant-based fats, you not only improve the taste but also gain a new cooking resource. This guide will provide clear, practical methods for rendering fat that enhance your culinary repertoire. Whether you’re a novice or a seasoned cook, these tips will inspire confidence and creativity in your kitchen.
Understanding the Basics of Fat Rendering

Fat rendering is the process of melting solid fat into liquid form. This technique separates impurities, leaving you with pure oil that enhances flavor and texture in dishes. Understanding fat rendering is foundational for any home cook wanting to elevate their culinary repertoire.
Fats commonly used in cooking include butter, lard, tallow, and schmaltz. Each offers unique flavors and characteristics. Butter, with its creamy texture, is perfect for baking. Lard, a pork-derived fat, provides a distinct depth of flavor to pastries. Tallow, from beef or mutton, suits high-heat cooking due to its high smoke point. Schmaltz, rendered chicken fat, is a staple in many traditional dishes, offering a rich, savory taste.
Using rendered fat has numerous benefits. Culinary versatility is one of the top advantages; rendered fats are excellent for sautéing, roasting, and even in dressings. They have a longer shelf life than unprocessed fat, which means less waste in your kitchen. Additionally, rendered fats are economical. Instead of discarding the fat trimmed from meats, you can transform it into a reusable cooking medium.
Rendered fat imparts a deep flavor that plant-based oils lack. There’s an authenticity and nostalgia in cooking with fats like lard or schmaltz, reminding many of home-cooked meals from past generations. Plus, some fats like tallow can add a surprising flavor dimension to bake goods, making them less one-note and more complex.
Key terms to familiarize yourself with include “smoke point” and “clarified.” The smoke point indicates when fat begins to smoke and break down, potentially releasing harmful compounds. Clarified reflects removing milk solids from butter, yielding ghee. Using oils with appropriate smoke points helps avoid unwanted flavors and health hazards.
Ready to try your hand at rendering? Choose a fat that complements your dish. If sustainability is important to you, consider saving your chicken fat after roasting a bird. Such practices align with reducing food waste—a topic explored in our low-waste cooking prep guide.
To render fat, start with cold fat pieces. Cut them into small, uniform chunks. Slowly melt them over low heat, allowing the fat to liquify gradually. Stir occasionally to prevent sticking. Once all fat has liquified, strain it through a fine sieve to remove solids. The remaining liquid is your rendered fat, ready for culinary adventures.
With these fundamentals in mind, you’ll be prepared to incorporate rendered fats into your cooking, enhancing flavors and making the most of your ingredients.
Step-by-Step Guide to Rendering Fat
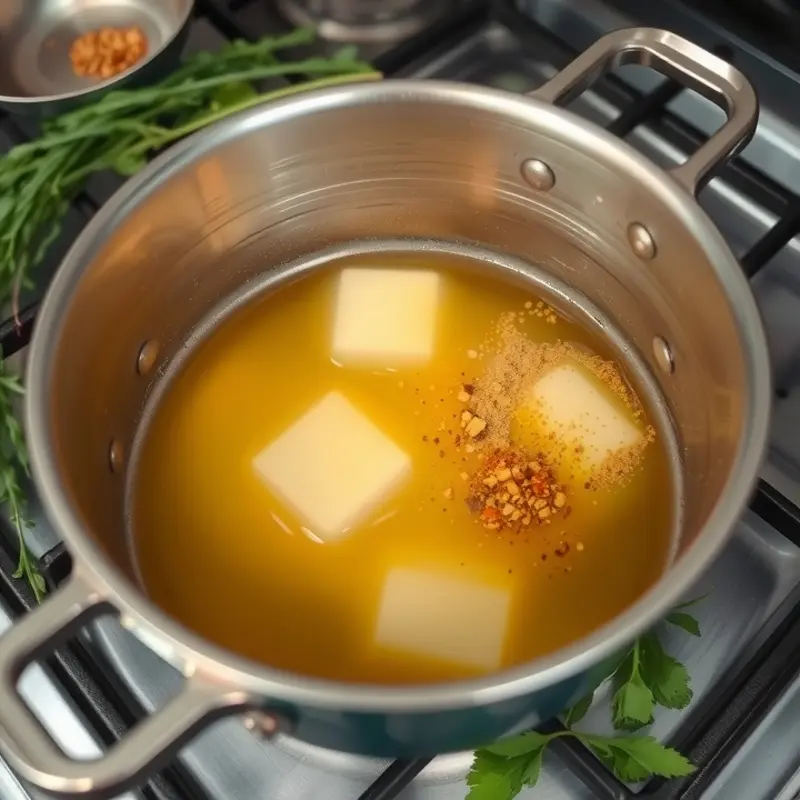
Rendering fat is a timeless culinary technique that can greatly elevate the flavors of your dishes. To start, choose high-quality cuts of meat with ample fat. Pork and duck are popular choices due to their rich flavors. Cut the fat into small, even pieces, roughly half an inch. Uniform sizes ensure consistent rendering, preventing uneven cooking or burning.
Safety and Equipment
Use a heavy-bottomed pan or pot to provide steady, even heat. A cast-iron skillet is ideal. Set the burner to a low heat. This gentle heat prevents the fat from browning too quickly. Avoid high heat, which can scorch the fat and impart a burnt flavor.
The Rendering Process
Add a small amount of water to the pan, approximately a quarter cup. This water will evaporate and help begin the rendering process slowly and evenly. Spread the fat evenly across the pan. Stir occasionally, allowing the fat to render slowly over an hour or more. You’ll know it’s done when the pieces are golden brown, and the liquid in the pan is clear.
Carefully strain the liquid fat through a fine mesh sieve lined with a cheesecloth into a heatproof container. This removes any browned bits, or cracklings, ensuring smooth rendered fat. Save the cracklings as a tasty byproduct to top salads or soups.
Storing Rendered Fat
Store the rendered fat in an airtight container. A glass jar works well. Let it cool, then refrigerate. Properly stored, rendered fat can last for months. For extended storage, consider freezing it. A brief stop at Eco-Smart Kitchen Storage offers insights into sustainable practices that maximize food preservation.
Using Rendered Fat
Incorporate rendered fat into your cooking for added richness. Use it to sauté vegetables or as a flavorful base for roasting meats. When baking, swap in rendered fat for butter or oil to enhance savory items like biscuits or to amplify flavor in pie crusts.
Rendering fat at home equips you with a versatile cooking ingredient, rich in flavor and historical significance. It connects you to traditional cooking methods while providing practical ways to enhance your culinary repertoire. Enjoy experimenting with this age-old technique.
Final words
Rendering fat is not only a valuable kitchen skill, but it also helps you utilize ingredients fully, enhancing your culinary creations. With the techniques and insights provided, you can elevate your cooking by creating rich, flavorful dishes that impress family and friends. The rendered fat you prepare can transform simple recipes into exquisite meals, proving that mastering this process is well within your reach. Embrace this skill and let your imagination guide the way in your culinary adventures.


