Cooking juicy chicken doesn’t have to be a daunting task. With a few straightforward techniques and attention to detail, you can achieve flavorful, tender chicken that will leave everyone wanting seconds. Whether you’re a beginner or an experienced home cook, these tips will help you master the art of chicken preparation and cooking. Dive into proven methods that not only enhance taste but also give you confidence in the kitchen.
Brining: The Foundation of Flavor
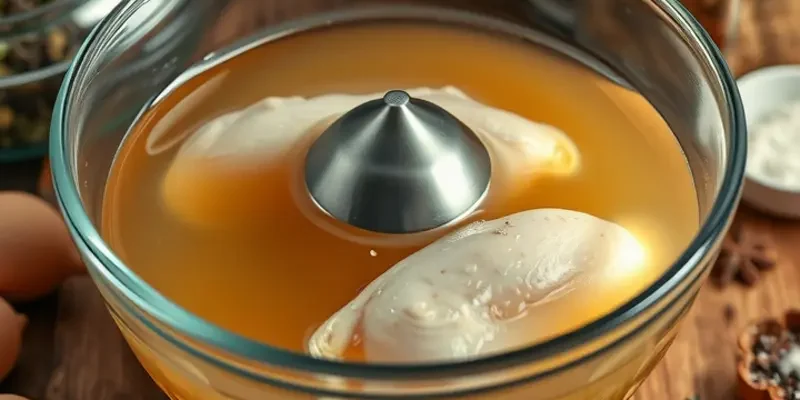
Brining your chicken is a transformative step in achieving unforgettable flavor and succulence. The basic principle behind brining is simple: immerse the chicken in a solution where salt is the star ingredient. This process not only elevates the taste but also enhances moisture retention, ensuring your poultry remains juicy and tender.
Start by preparing a basic brine solution. For every cup of water, mix in 1 tablespoon of salt. Adding sugar is optional, yet it can introduce a mild sweetness and facilitate browning during cooking. Spice it up with herbs and spices like bay leaves, peppercorns, or garlic, infusing additional layers of flavor.
To create the brine, begin by dissolving the salt, and sugar if using, in boiling water. This step is crucial for maximizing the solubility of these ingredients. After the salt is fully dissolved, add enough cold water to bring the temperature down swiftly. This cooling step is important before submerging your chicken to prevent any premature cooking that might occur if the brine is still warm.
Once cooled, place your chicken into the brine. Fully submerge the bird, ensuring it is surrounded on all sides by the liquid. For best results, let the chicken soak for at least an hour. To achieve truly remarkable juiciness, extend the brining time to 4 to 8 hours. Brining times will vary based on the cut and size of the bird—larger birds like a whole chicken can brine longer than individual pieces.
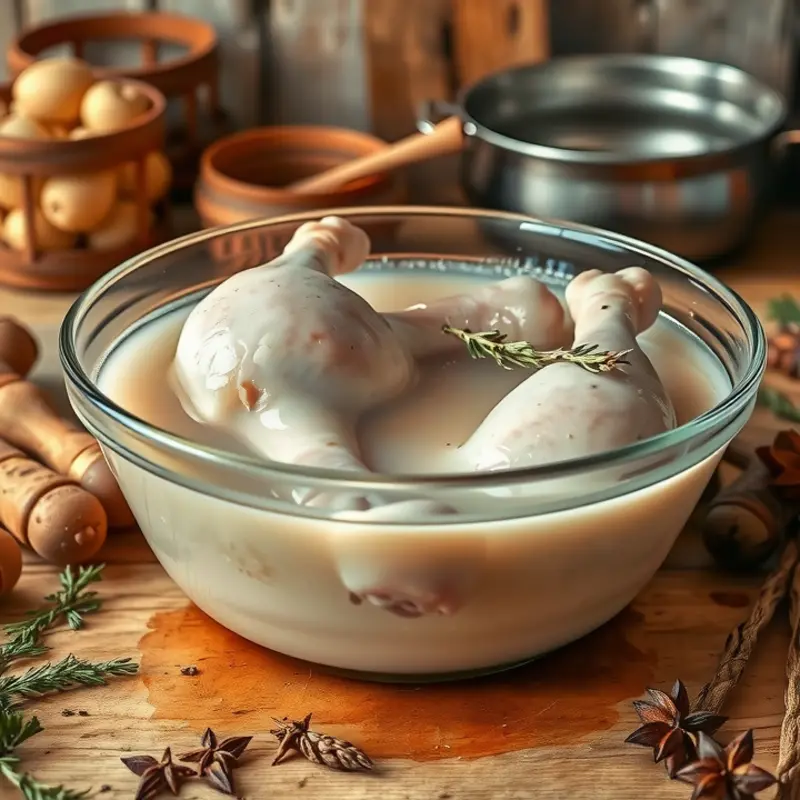
However, before cooking, rinsing the chicken is essential to remove excess salt and prevent an overly salty dish. Pat the chicken dry with paper towels, setting the stage for crispier skin if you’re heading for roasting.
Alternatively, experiment with dry brining: a simpler method where salt is sprinkled directly onto the chicken. Let it rest uncovered in the refrigerator for several hours. This technique is less labor-intensive, requires no liquid, and still harnesses the power of salt to enhance flavor and tenderness.
For those interested in reducing waste in the kitchen, brining offers a fascinating link to an eco-smart approach to cooking. By enhancing moistness and flavor, brining reduces the likelihood of overcooking, thereby minimizing food waste. For more eco-friendly kitchen practices, check out the eco-smart kitchen storage guide.
Mastering the art of brining is an investment in your culinary repertoire. It ensures that your chicken will not just be cooked, but rather enjoyed and remembered for its flavor and juiciness. Whether you choose a wet or dry brine, embracing this technique is a pivotal step towards poultry perfection.
Cooking Techniques: Searing and Roasting for Maximum Juiciness

When mastering the art of cooking chicken, selecting the right method makes all the difference. Searing is a time-tested technique that enhances flavor and moisture, especially when combined with roasting.
Begin with the stovetop technique. Heat a skillet to high; you want it hot before placing the chicken. A properly heated pan creates an immediate sizzle, forming a caramelized crust that seals in the juices. Searing is not just about appearance—it’s crucial for maintaining natural moisture. Allow each side to reach a beautiful golden brown before moving to the next step.
After achieving that perfect sear, transition to the oven. A preheated oven set at 375°F (190°C) continues the cooking process evenly. This dual technique ensures the chicken is cooked through while remaining tender and juicy inside. Roasting works well because it envelops the chicken in consistent heat from all directions.
Precision is vital, so use a meat thermometer. The internal temperature of the chicken should reach 165°F (74°C) for safety and optimal texture. Trusting sight and touch alone can result in undercooked or overcooked chicken, sacrificing flavor and safety.
After removing the chicken from the oven, resist the urge to slice immediately. Resting chicken for 5-10 minutes allows juices to redistribute throughout, enhancing every bite with consistent moisture and tenderness.
Experimentation with marinades or rubs can elevate your chicken to new flavor heights. These not only infuse taste but also contribute additional moisture. Consider using ingredient substitutions to boost flavors without excess sodium. For more guidance, explore this guide on using flavor boosters without salt.
Mastering searing and roasting transforms your cooking. With practice, you can consistently serve up juicy chicken—each meal a testament to your culinary skill.
Final words
Achieving juicy chicken is within your reach, thanks to these straightforward tips. Brining your chicken enhances its flavor and moisture, while employing proper cooking techniques guarantees a tender result every time. By mastering these basic skills, you can transform a simple meal into something extraordinary that impresses family and friends. Don’t be afraid to experiment with different flavors and methods as you become more comfortable in the kitchen. Remember, practice makes perfect, and soon you’ll be the go-to chef for delicious, juicy chicken in your home.


